Tuesday, March 29, 2011

Crispy Bean & Cheese Burritos

Random pictures and things that we have been doing over the last little while.  The weather outside has one foot planted in Winter, and the other foot dipping it's toe into Spring.  Finally, the snow has started to melt and the kids are asking if they can take their bikes out for a spin.  The bikes need to wait a couple more weeks, but the chilly days of Canadian Spring are a nice break from the deep freeze we have been in.  This year in Calgary, we have had the 3rd snowiest winter on record.  The birds are starting to sing in the morning...  What a hopeful time of year!
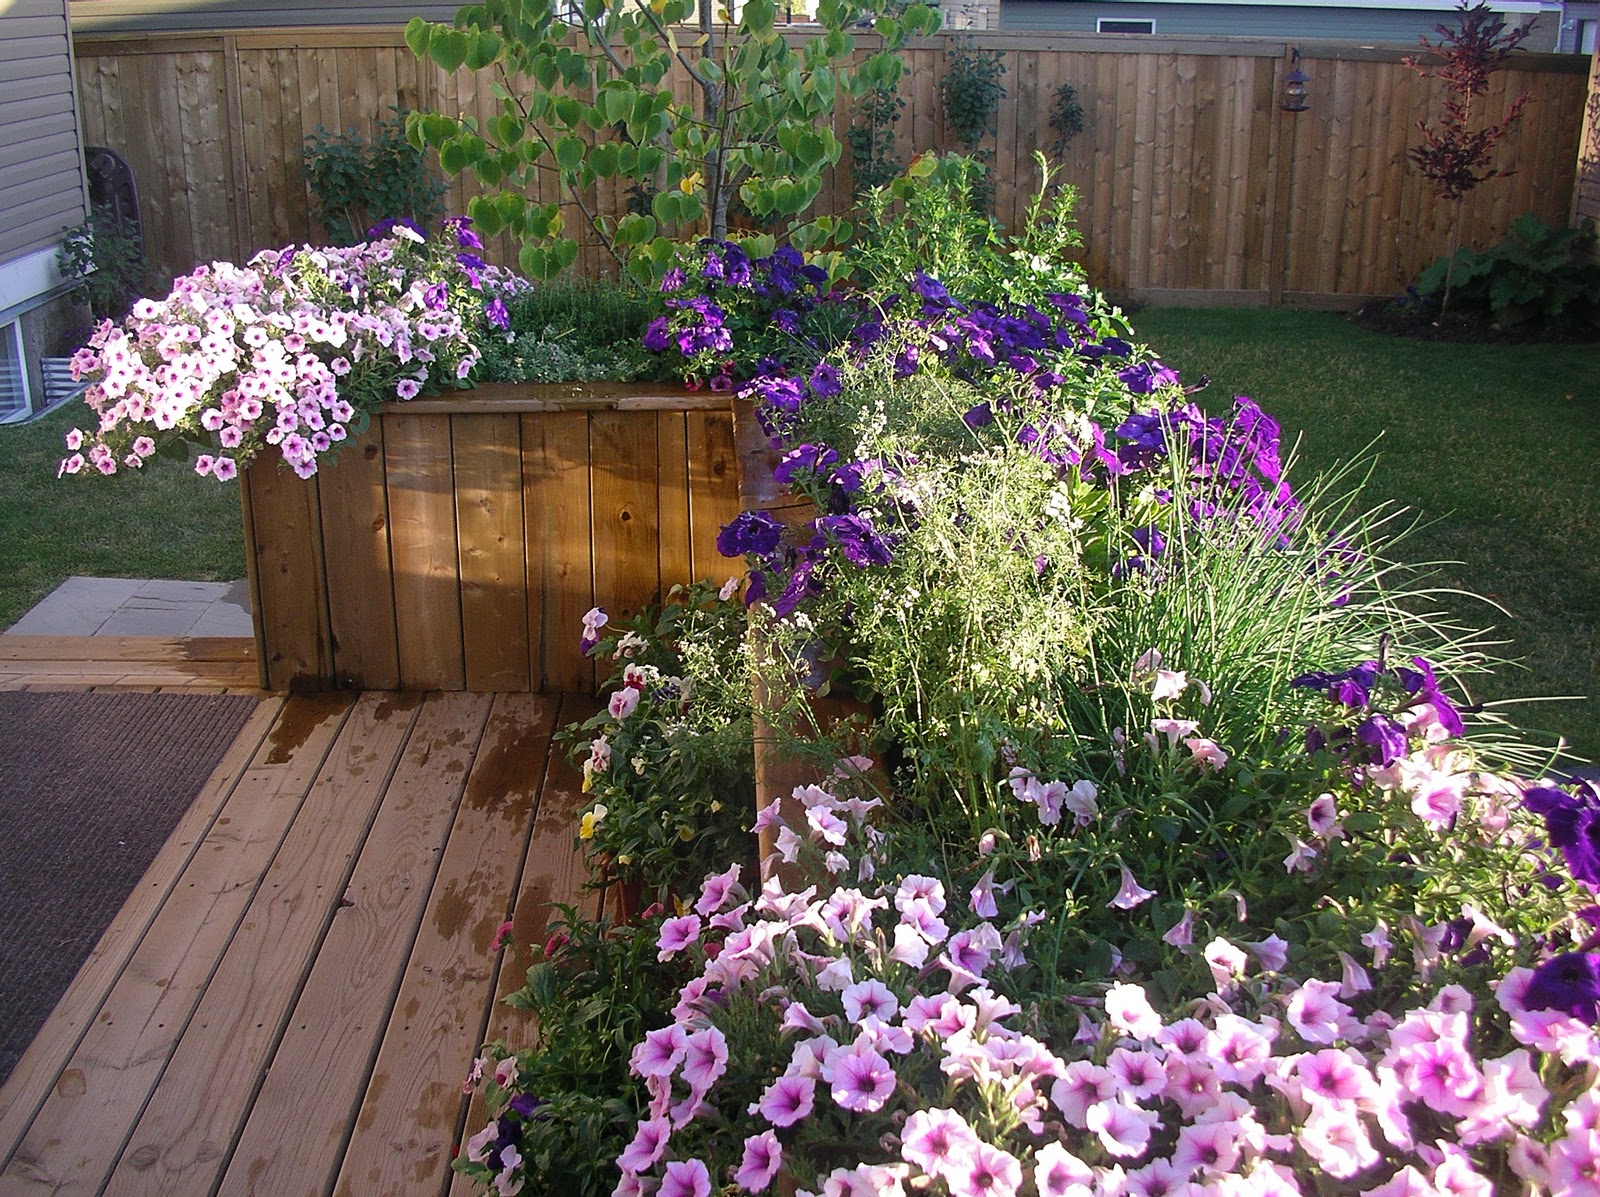
My three boys surprised Mommy with some cheerful flowers!


T-man making cookies with his Chef hat and apron.  This guy loves making cookies...  I think it reminds him of  his favourite activity:  PLAY DOUGH.  Check out our best-est recipe here.


E-man decorating a present for a friend.  We don't buy wrapping paper anymore.  We use the white paper off of the art easels and decorate, decorate, decorate.  It's one of E-man's favourite things to do.
Miss Reegs a curious 2 year old that is constantly investigating my kitchen cupboards.  This is a snapshot of her mischievious grin as she quickly closes the door to one of the cupboards "I'm not doing anything Mom!".
The below recipe doesn't need any pictures.  It is delicious, and a snap to make.  This recipe is even faster if you have leftover rice.  Everyone here loves this crispy take on the classic burrito.

Crispy Bean + Cheese Burritos


2 cups cooked white or brown rice
1 cup salsa
1/3 up chopped cilantro
1 ripe avocado, cut into chunks
1 Tbsp lime juice
6 soft flour tortillas
1 cup shredded cheese (whatever your family likes)
1 can black beans, drained and rinsed

Mix rice, salsa and cilantro together and set aside.

In a small bowl, sprinkle avocado chunks with lime juice.

Place tortillas on work surface and put cheese, black beans, rice mixture and avocado evenly among the tortillas.  Fold up tortillas like an envelope.

Heat a large nonstick skillet over medium-high heat.  Coat top and bottom of burritos with cooking spray.  Place three burritos at a time into skillet, seam side down, and cook until lightly browned and crisp.  Repeat with remaining burritos.

Love,
Twin B
xoxoxoxo

Tuesday, March 8, 2011

Not From a Can? Tomato Soup

Trying to grow a garden in Canada is tedious at the best of times.  If the weather cooperates and the growing season is moderate, you can usually get a few home-grown items before the snow flies.  It doesn't stop us however from getting excited each Spring, looking forward to giving gardening another go.  The following is a few snapshots of our yard/garden over the last few years.  Tomatoes are a staple in my garden and in my pantry.  The tomato soup recipe that follows is worth the effort of making it from scratch.


Creamy Tomato Soup

1 can whole tomatoes (or 8 medium tomatoes, see note at bottom of recipe)
2 Tbsp extra virgin olive oil
Salt + Pepper
1 Tbsp butter
1 onion, chopped
3 garlic cloves
1 medium carrot, diced
1/8 tsp red pepper flakes
1/3 cup heavy cream
1 Tbsp chopped fresh basil or parsley

Preheat the oven broiler.

Strain tomatoes, reserving the juices.  Cut the tomatoes in half and spread over a small rimmed baking sheet.  Drizzle with 1 Tbsp of oil and season with salt and pepper.  Broil until the tomatoes begin to caramelize, about 10 minutes.

In a large pot, heat the remaining 1 Tbsp oil and the butter over medium heat.  Add the onion, garlic, and carrot and cook until softened, about 10 minutes.  Add the roasted tomatoes, reserved juices, and red pepper flakes and simmer for 15 minutes.

Stir in cream and remove from the heat.  Puree soup until smooth.

Garnish with basil or parsley and serve immediately.  Cooled soup can be stored in the fridge for up to 3 days, or soup can be frozen for up to 1 month.

NOTE:  If using fresh tomatoes, cut them in half, squeeze juice out of tomatoes, reserve juice.  Roast as per instructions, and add reserved tomato juice as per recipe.  I don't bother peeling the tomatoes as I like the extra texture it provides to the soup.  The soup may be a little thicker, so you may want to add a little extra water or vegetable stock.

Love,
Twin B
xoxoxoxoxo

Pasta with Creamy Pumpkin Sauce

This recipe will become a well-loved revisited favourite.  It is super quick to make, almost as quick as a box of KD.  The littles will LOVE it since the noodles are bathed in a familiar orange colour, reminiscent of that famous blue box, but it is not a cheese sauce.  Adults will love the sage and mild garlic flavours that pair nicely with the pumpkin.  T-man exclaimed "I'm 'hoarking' this down Mom, can you make this everyday?"  That's a winner dinner in my book!  Try it and you will be a believer too!


Pasta with Creamy Pumpkin Sauce


Pasta with Creamy Pumpkin Sauce

2 Tbsp butter
1 medium onion, finely chopped
4 garlic cloves, minced
1 14 oz can of unsweetened pumpkin
2 cups low-sodium chicken stock
1 cup heavy cream (or whole milk)
4 Tbsp chopped fresh sage leaves or 4 tsp dried
Salt + Pepper
1 pound dried pasta, such as penne or rigatoni
1 cup freshly grated Parmesan

Bring a large pot of salted water to a boil.

Melt butter in a large skillet over medium heat.  Add onion and garlic and cook for 3 minutes.  Add the pumpkin, broth, cream, and half of sage.  Cook, stirring frequently, for about 10 minutes, or until slightly thickened.  Season to taste with salt and pepper and stir to combine.

Meanwhile, cook the pasta in boiling water for about 10 minutes, or until al dente.  Drain well and add to the pumpkin sauce along with 1/2 cup of the Parmesan.

Serve immediately, topped with the remaining 1/2 cup Parmesan and the remaining sage.

We visited a Pumpkin Patch in the Fall of 2009 near Red Deer.
The pumpkins were all very unique and beautiful.
It was fun taking painting pictures for Grandma.
E-man enjoying all the Fall activities.
T-man picked a 'keeper' pumpkin that was just the right size.
Reegs, in her 6 month size, was able to wear a pumpkin.
Love,
Twin B
xoxoxoxo

Monday, March 7, 2011

Lazy Pierogi Casserole

This twist on the classic recipe has all of the flavours of the original, without all the time consuming effort.  It was found in the book The Canadian Cookbook by Jennifer Ogle.  This recipe caught my eye since my family always loved Grandma P's cabbage rolls, but the recipe didn't get made nearly often enough.  When Twin A found a recipe for Lazy Cabbage Roll Casserole, she became a hero.  (Twin A should post this delicious recipe soon!)

This Lazy Pierogi Casserole will become one of those favorites too.  One of my earliest kitchen memories involves my Mom and my Grandma P turning our kitchen into a pierogi making factory with this crazy pierogi cutting contraption that looked like a giant cookie cutter.  Mom insists that they didn't make them that often, but it sure stuck out in my mind.

I took the Canadian Culinary Kitchen  Cookbook Series out of the library.  This series is interesting since it gives background info about each of the original recipes and how they became part of our Canadian Food landscape.  As you can see, I've flagged many recipes to try...  ambitious I know, we will see how many get made before they need to be returned to the library.


Lazy Pierogi Casserole

1/2 cup melted butter + 1/4 cup for brushing top
2 cups dry cottage cheese
1 cup ricotta
8 Yukon Gold potatoes, peeled, boiled and mashed (use 8 cups of leftover mashed potatoes if you want)
generous dash each of salt, pepper + paprika
9 to 12 lasagna noodles, cooked (to make 3 layers)
8 medium onions, sliced and caramelized
1 cup grated aged cheddar cheese

Preheat oven to 375 degrees F.  Mix together 1/2 cup butter, cottage cheese, ricotta and mashed potatoes.  Season well with sea salt, pepper and paprika.

Butter a 9 x 13 inch casserole dish.  Place a layer of noodles in dish, followed by a third of the onions then a third of potatoes.  Repeat layers, ending with potatoes.

Brush top with remaining butter and sprinkle Cheddar evenly over top.  Bake for 35 to 45 minutes.

Love,
Twin B
xoxoxoxo

Wednesday, March 2, 2011

Slow Cooked Ribs + Skating

What's better than an afternoon skating at the local park?  Maybe having supper ready when you get home?  That's why I love my slow cooker!  I'm always on the hunt for slow cooker recipes that don't taste like slow cooker recipes.  You know what I mean, everybody has had that mushy grey meal emerge from the slow cooker.  Not good!  This rib recipe will make you think BBQ on a warm summer's day.  I've even served it for company and so far, it's been a winner!


Amy’s Slow Cooked Ribs

2 racks of pork back ribs
4 tsp mesquite or Cajun seasoning
salt + pepper
2 cups ketchup
½ cup wine vinegar (or cider vinegar)
4 tbsp granulated sugar
2 tbsp Worcestershire sauce

Cut ribs into single-rib portions; place in large shallow glass dish.  Rub mesquite seasoning, salt and pepper over ribs.  Place dish under broiler, on high, until browned, about 5 minutes per side.  Transfer ribs to slow cooker.

In bowl, mix all other ingredients together and add to slow cooker, stirring to coat ribs.  Cover and cook on low until tender, 6 to 8 hours.

Love,
Twin B
xoxoxo